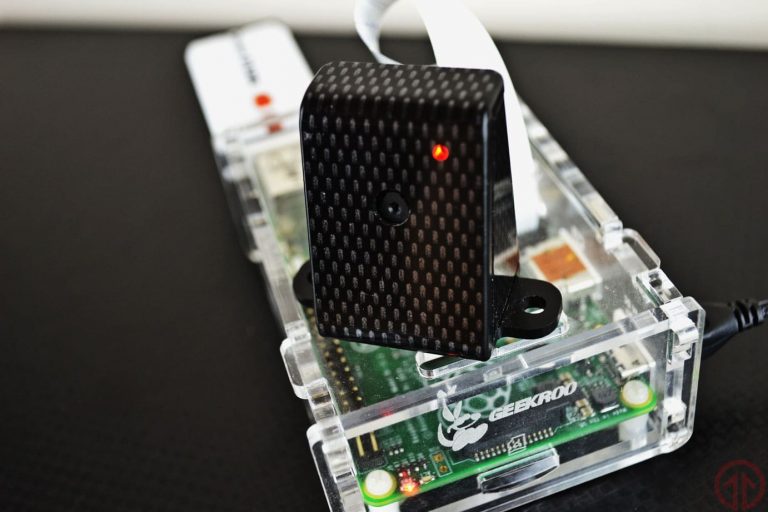
Building a Raspberry Pi Security Camera

The Raspberry Pi, although it may feel like it’s been around forever, it’s only been within the public subconscious for the last seven years. Bursting on to the scene in 2012, these single board computers have since hit the 25 million sales mark.
Originally created to teach basic computer science in schools and developing counties, the Raspberry Pi has gained popularity far beyond its initial audience. Now, everyone who fancies getting themselves into a little tech project are turning to the Raspberry Pi. One great thing about them is, they can give you a little home project, while also helping you to build something you could use. A good example of this is a security camera.
Complex but simple, the Raspberry Pi can help you build your own security equipment. Let us outline how, below.
Select the Right Hardware
First, you’ll need to find you’re the right PI platform, which will dictate the size, cost, Wi-Fi complexity and what camera module you’ll need. From here, you can find items to help build the device.
When it comes to the camera, which is the important element of a security system, a USB webcam will often suffice. However, it is worth spending a bit more for an official camera board, which could help you avoid any troubleshooting issues.
MotionEye: Downloading and Writing
Once everything has been built, you’ll need to start considering what software you’ll need for the security system. There are two options here, Motion and MotionEye, which is an all-in-one option that’ll turn a single-board computer into a video surveillance system – which is the one we’re going to discuss.
You’ll first need to download the latest version of MotionEye, extract the image file from the archive and write it onto your SD card. You can do this by using either Windows, Etcher.io or the writeimage.sh script in Linux, which will do everything for you.
Boot and Setup
Once this is done, you’ll be ready to boot the image. Taking a few minutes as the system auto-configures, it will listen to port 80 and present you with a web user interface once the setup is complete. When done, enter the IP address of your board in your browser address bar, then use the router to display device and look for ‘meye-‘.
Once done, you’ll then be able to access this as an admin and begin setting everything up, playing with the settings until you get them exactly how you want them. Once done, you’ll be left with your own security system, which you can even monitor remotely, and is much cheaper, and more fun, to the ones you can buy in a shop.
Featured Image credits: pimylifeup.com


